Creating a Spark for Young Minds
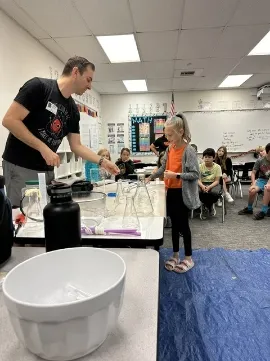
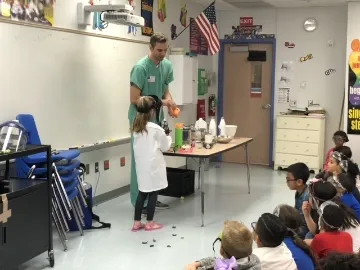
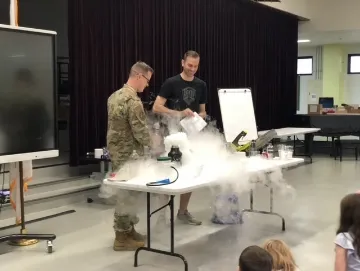
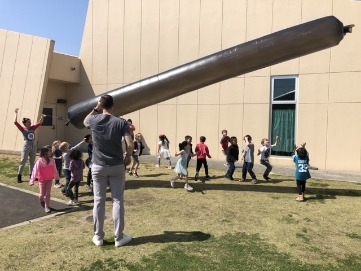
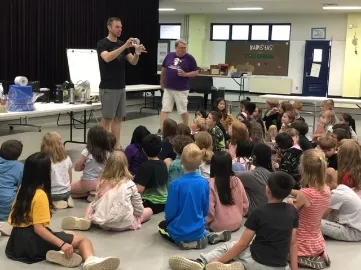
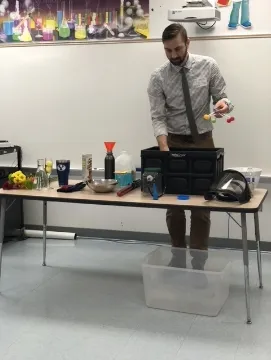
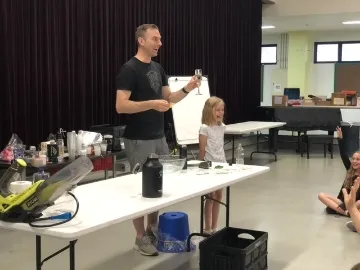
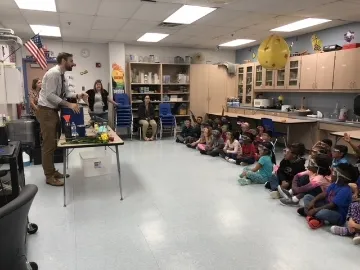
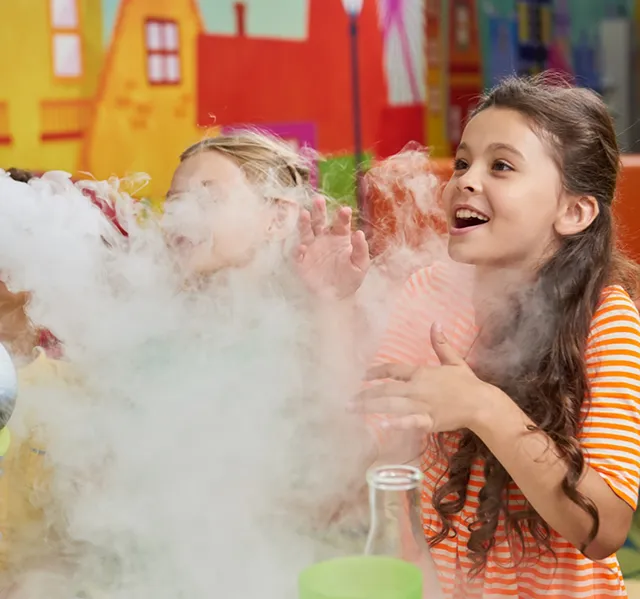
Dr. Larson loves helping patients as well as educating people because it empowers them to take better care of themselves and meet their goals more easily. This can be especially impactful for children, which is why he does free “science shows” at elementary schools in and around Gilbert. These are quite involved and aren’t your typical “kitchen” science” presentations that always end with a baking soda volcano.
If you would like Dr. Larson to come to your school to break up the routine and allow your students to benefit from his energy, enthusiasm, and knowledge, be sure to reach out!
Can Crushing Experiment
Materials:
- An empty aluminum soda can
- A bowl of ice water
- A stove or hot plate
- Tongs
- A small amount of water (about 1-2 tablespoons)
Instructions:
1. Add Water to the Can: Pour about 1-2 tablespoons of water into the empty soda can.
2. Heat the Can: Place the can on a stove or hot plate and turn the heat to medium-high. Allow the water in the can to heat up until it begins to boil. You’ll know it’s boiling when you see steam escaping from the opening.
3. Prepare the Ice Water: While the can is heating, fill a bowl with cold water and add some ice cubes to make it very cold.
4. Crush the Can: Once you see a steady stream of steam coming from the can, use the tongs to quickly grab the can and immediately invert it (opening side down) into the bowl of ice water. Watch as the can is suddenly crushed!
What’s Happening:
The water inside the can turns into steam as it boils, filling the can with water vapor. When you quickly invert the can into the cold water, the steam inside condenses back into water almost instantly, creating a vacuum. The air pressure outside the can becomes much greater than the pressure inside the can, causing the can to be crushed inward. This experiment is a great way to demonstrate the power of air pressure and the rapid change in states of matter. It’s simple, dramatic, and safe to do with some adult supervision!
Oobleck Experiment
Materials:
- Cornstarch (1 cup)
- Water (1/2 cup)
- Food coloring (optional)
- A large mixing bowl
Instructions:
1. Mix the Ingredients: Pour the cornstarch into the mixing bowl. If you want to make your Oobleck colorful, add a few drops of food coloring to the water. Gradually add the water to the cornstarch, mixing with your hands as you go. It will start to feel strange as it mixes!
2. Test the Oobleck: Once the mixture is well combined, try poking it with your finger or hitting it with a spoon. It will feel solid under pressure. Now, slowly let your hand sink into the mixture or try to lift some of it gently. It will flow like a liquid!
3. Play and Explore: Encourage the kids to explore the Oobleck by rolling it into a ball and then letting it ooze out of their hands. They can also try applying different amounts of pressure to see how it changes the texture.
4. Cleanup: Oobleck can be easily cleaned up with warm water. Just be sure not to pour it down the drain, as it can clog pipes. Instead, throw it in the trash.
What’s Happening:
Oobleck is a non-Newtonian fluid, meaning it doesn’t follow the normal rules of how liquids and solids behave. When you apply pressure, the cornstarch particles lock together, making it feel solid. When you release the pressure, it flows like a liquid. This experiment introduces kids to some fascinating concepts in physics and material science in a fun and hands-on way.
Kids love the tactile nature of this experiment, and it’s a great way to spark curiosity about the properties of different materials!
Magic Milk Experiment
Materials:
- Whole milk (1 cup)
- Food coloring (a few drops of different colors)
- Dish soap (a small drop)
- Q-tips or cotton swabs
- A shallow dish or plate
Instructions:
1. Pour the Milk: Pour the whole milk into the shallow dish or plate. The milk should cover the bottom but shouldn’t be too deep.
2. Add Food Coloring: Add a few drops of different colored food coloring to the milk. Place each drop in a different spot, but don’t stir them.
3. Dip the Q-tip in Dish Soap: Take a Q-tip or cotton swab and dip one end into the dish soap.
4. Touch the Milk: Gently touch the soapy end of the Q-tip to the center of the milk (where the food coloring is). Watch what happens!
5. Observe the Reaction: The colors will start to swirl and mix in surprising patterns. You can move the Q-tip around to create different designs.
What’s Happening:
Milk contains fat, and when the dish soap touches the milk, it breaks down the fat molecules. This causes the food coloring to move and create colorful swirls. It’s a great way to show how soap works to break up oils and fats!
This experiment is not only visually stunning but also introduces kids to concepts like surface tension and chemical reactions. Plus, it’s easy to clean up.

